Simple and cute paper cupcake handmade birthday card and wrapping idea - Biglietto di auguri fatto a mano con cupcake in cartoncino e idea per impacchettare
Buongiorno giugizers e benritrovati,
il post di oggi è dedicato ad un compleanno speciale, vi darò un piccolo indizio fotografico... :)
Goodmorning giugizers and welcom back to my blog,
today's post is dedicated to a special birthday, I'll give you a tiny photo-clue... :)
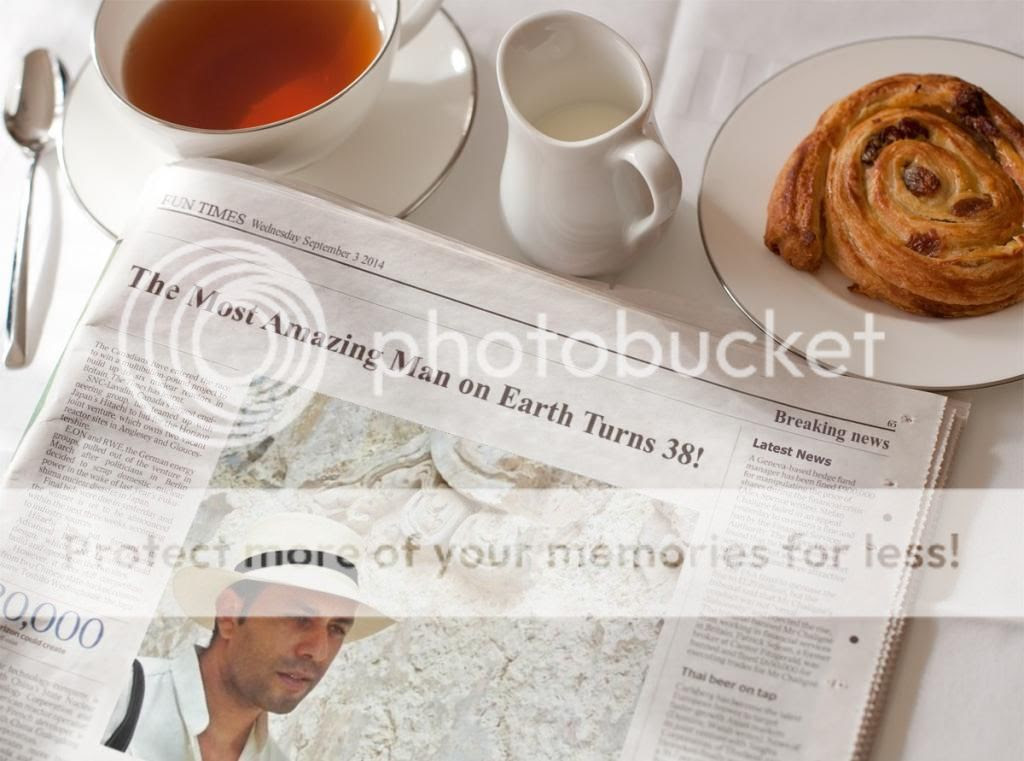
Per festeggiare l'uomo più paziente del mondo, quello che sopporta i miei alti e bassi, che mi sostiene nelle mie passioni, che condivide con me i momenti belli e quelli brutti ho creato un biglietto semplice, ma con un tocco speciale!
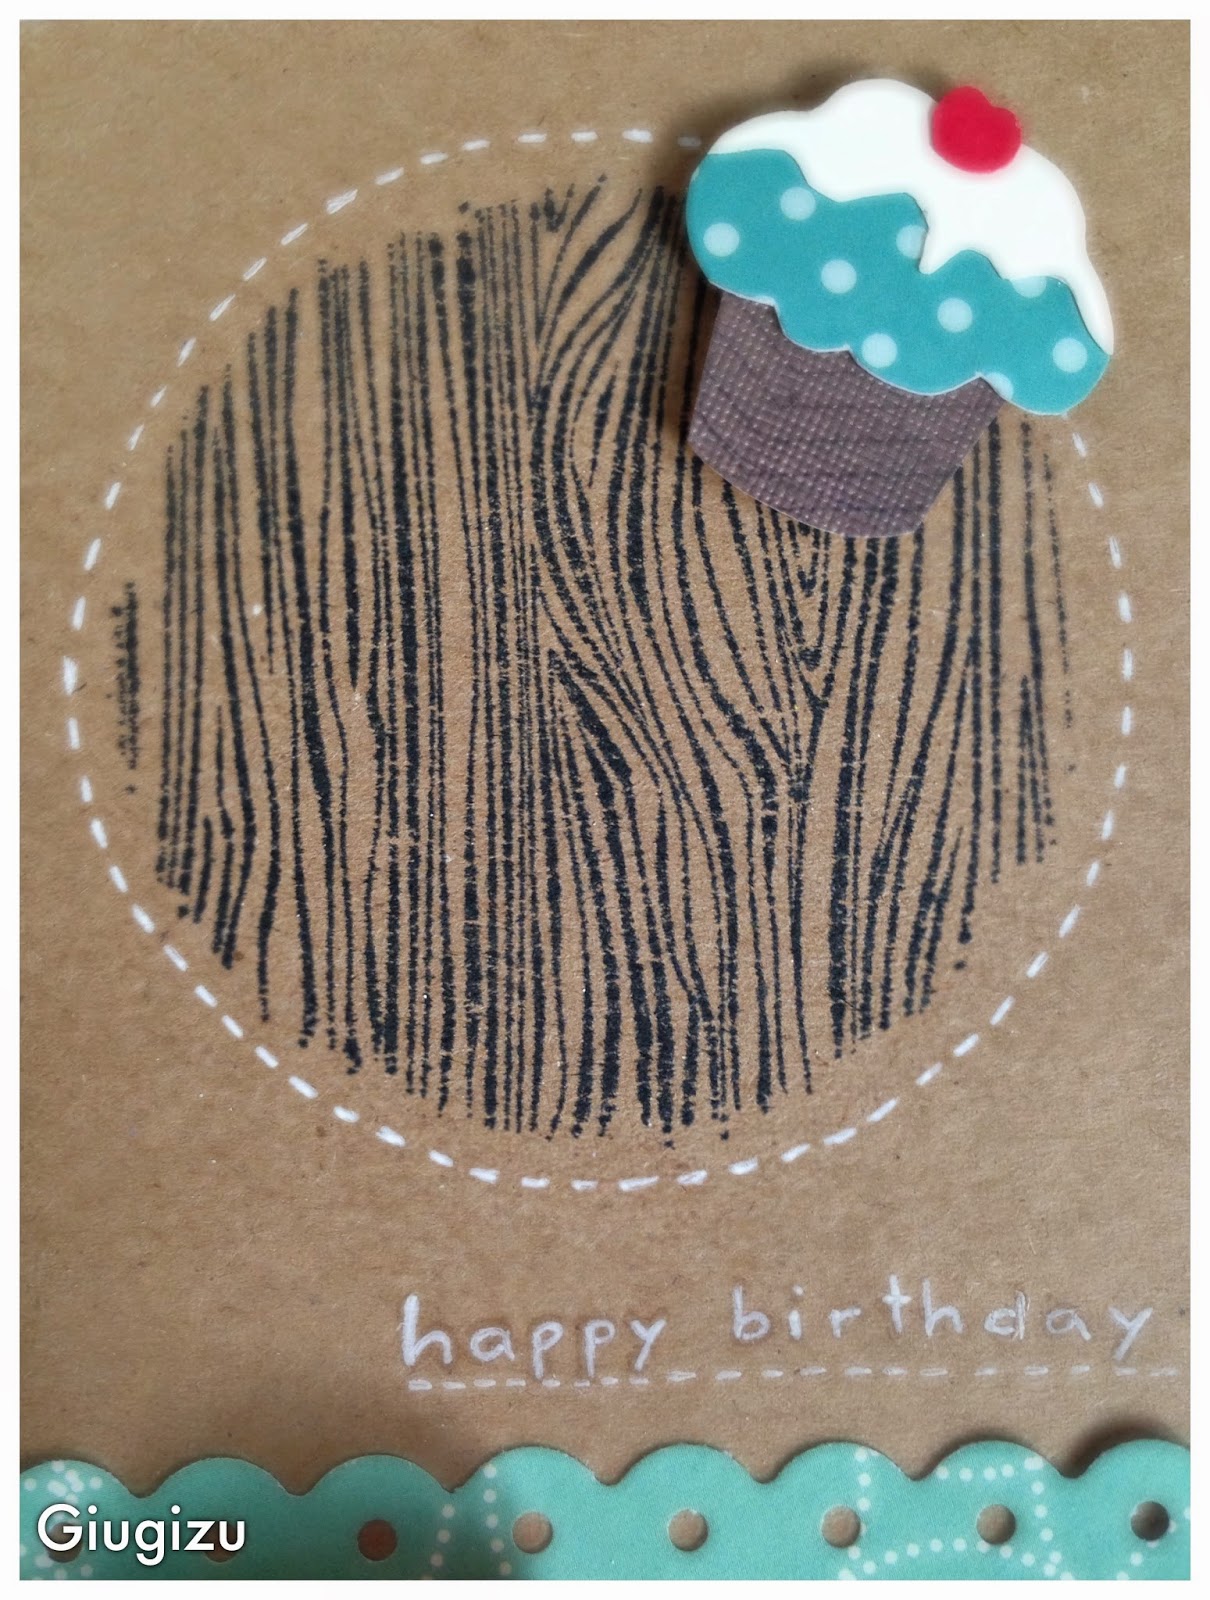
Partendo da un cartoncino avana ho utilizzato una mascherina tonda per stampare il timbro effetto legno nella parte alta. Ritagliando e sovrapponendo tre cartoncini colorati ho creato il piccolo cupcake che ho in collato con adesivo dimensionale per dare profondità.
Nella parte bassa ho invece inserito un bordino a festone ed un nastro a quadretti per riprendere le tonalità dominanti del biglietto, mentre per il sentiment e per delineare il contorni ho usato una penna gel bianca. Ecco il risultato!
To celebrate the most patient man on earth, the one who puts up with my ups and downs, who supports me in all of my passions, who is always there for me I created a simple yet special card!
Starting with a kraft cardstock I used a round mask to stamp the woodgrain pattern on the top of the card. By cutting and layering 3 different patterned papers I created a cupcake which I adhered using dimensional stickers to add deepness. On the bottom I placed a scalopped border and a big ribbon to match the main colors on the card and I used a white gel pen for the sentiment and to outline the edges. Here is the result!


il post di oggi è dedicato ad un compleanno speciale, vi darò un piccolo indizio fotografico... :)
Goodmorning giugizers and welcom back to my blog,
today's post is dedicated to a special birthday, I'll give you a tiny photo-clue... :)

Per festeggiare l'uomo più paziente del mondo, quello che sopporta i miei alti e bassi, che mi sostiene nelle mie passioni, che condivide con me i momenti belli e quelli brutti ho creato un biglietto semplice, ma con un tocco speciale!
Partendo da un cartoncino avana ho utilizzato una mascherina tonda per stampare il timbro effetto legno nella parte alta. Ritagliando e sovrapponendo tre cartoncini colorati ho creato il piccolo cupcake che ho in collato con adesivo dimensionale per dare profondità.
Nella parte bassa ho invece inserito un bordino a festone ed un nastro a quadretti per riprendere le tonalità dominanti del biglietto, mentre per il sentiment e per delineare il contorni ho usato una penna gel bianca. Ecco il risultato!
To celebrate the most patient man on earth, the one who puts up with my ups and downs, who supports me in all of my passions, who is always there for me I created a simple yet special card!
Starting with a kraft cardstock I used a round mask to stamp the woodgrain pattern on the top of the card. By cutting and layering 3 different patterned papers I created a cupcake which I adhered using dimensional stickers to add deepness. On the bottom I placed a scalopped border and a big ribbon to match the main colors on the card and I used a white gel pen for the sentiment and to outline the edges. Here is the result!
Lista dei prodotti - Supplies List
Kraft Cardstock
White Cardstock
Red Cardstock
Hero Arts Designer Woodgrain Stamp
Memento Tuxedo Black Ink
Pebbels Seen & Noted collection
DCWV Latte Stack
Scenic Route paper Co. Charlotte collection
White Gel Pen
Ribbon
Ovviamente insieme al biglietto Daniele ha ricevuto anche un regalo e volevo che il pacco fosse spettacolare, così sono andata su Pinterest per cercare un'idea ed ho trovato un progetto di Martha Stewart che faceva per me. Per prima cosa ho impacchettato il regalo utilizzando una carta a strisce verdi e bianche, sulla quale ho applicato due fasce di carta in colori abbinati (se vi interessa il set che ho utilizzato lo potete trovare all'Ikea), ho poi inserito come decorazione un cartoncino in tinta creando dei grandi cerchi dai quali ho ricavato le scritte in pop up utilizzando un taglierino. Ecco il risultato!
Of course with the card came a present and I wanted it to be super special so I went on Pinterest and found a Martha Stewart suggestion which was perfect for me. I started by wrapping the present with a green striped paper, then I added 2 more stripes in matching colors (if you are interested I got my paper at Ikea) and as a decoration I used some stripes of green cardstock, I created some loops and I cut the pop the letters using an X-Acto knife. Here is the result!
Anche per oggi è tutto, spero che questo post vi abbia dato delle idee per impacchettare i vostri regali e per creare una card su misura. Io per oggi vi saluto, vi auguro una buona giornata e vi aspetto al prossimo post ♥
That's it for today, I hope this post gave you some ideas to creatively wrap your presents and to created some custom cards. Now it's time to wrap it up, I wish you a good life and I'll "see" you on my next post ♥
That's it for today, I hope this post gave you some ideas to creatively wrap your presents and to created some custom cards. Now it's time to wrap it up, I wish you a good life and I'll "see" you on my next post ♥


Commenti
Posta un commento